
What You Need to Consider Before Moving From Squarespace
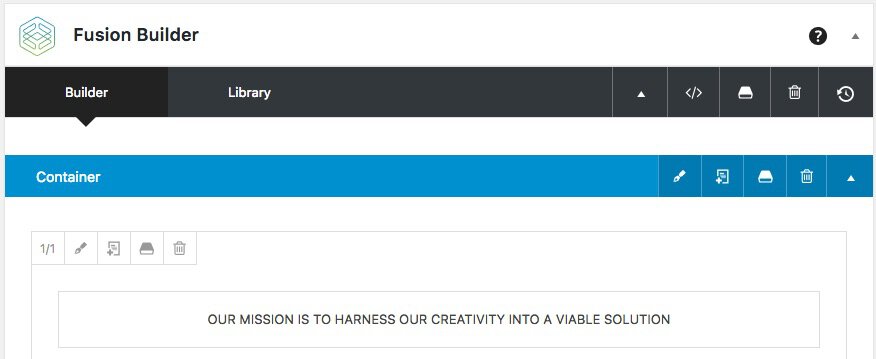
The Fusion Builder is a perfect replacement for the Squarespace WYSIWYG builder.
You may be contemplating migrating from Squarespace because of its limited ability but Squarespace does have a few advantages. Because of its limitations, you might encounter some extra steps as part of the migration process but we will guide you through that. Let’s take a closer look at the more important aspects of Squarespace:
- Drag-and-drop interface. The most loved feature of Squarespace for many users is its intuitive page builder interface. If you’re moving from Squarespace to WordPress you might want to research the builder themes and plugins available for WordPress to give you an alternative to Squarespace’s interface. We are fond of the Avada Theme which includes a powerful and flexible page builder called the Fusion Builder which can be used as a stand alone page builder with any theme.
- Bundled services. Squarespace is a bundled hosted service and provides small businesses with hosting and a domain name so that you can get started quickly. Before you move from Squarespace you will need to pay special attention to all of the bundled services that you might have – they will need to be replaced with alternatives if you are using them.
- Themes. Although the themes available at Squarespace are much more limited than WordPress it does provide you with a decent site out of the box. However, there is not really any way to migrate your theme from Squarespace, so to get the same look and feel you will need to take a look and see if there is magically a theme available amongst the many WordPress themes available or you can hire us to perfectly convert your Squarespace design.
Now that we’ve gone over the list above, let’s begin with what steps you should take before migrating your website.
Pre-Migration Steps
1. Purchase Hosting
As we mentioned above, if you are moving your website from Weebly, you will need to get hosting. WordPress hosting is widely available, with options ranging from inexpensive shared hosting to specialized managed hosting.
Specialized WordPress-only hosts provide security, backups, WordPress updates, and performance features, and are a good route if you enjoyed not worrying about site maintenance at Weebly. Specialized hosts typically cost more than shared hosts, but are often worth the price to protect your site.
To help you decide which host is best for your move, we’ve looked at several hosting companies including:
These are the best hosting companies we have found on the web. WPEngine is the most secure (slightly more expensive at $29 per month) but you will never have to worry about anything going wrong with your website or being hacked so we always recommend them but Siteground and Bluehost are great hosting options as well.
2. Setting Up a Temporary Domain Name
Until the migration process is complete, you will need to create a temporary domain name for your WordPress install. After the migration is complete, we teach you how to switch your domain name to point to the new Wordpress install.
Many hosting companies provide domain name registration of a single domain for free when you purchase hosting. We recommend you create a temporary domain (i.e. mytemporarydomain12.com) to use as a temporary domain on your WordPress install. That way when your hosting account is setup, the domain will be the main domain on the account and make things easier. If you know your way around a registrar rather then you can buy a new domain on your preferred registrar and then point to a host of your choice.
3. Install WordPress on a Temporary Domain
The vast majority of hosting companies now have a one-click install for WordPress. Otherwise, most hosts provide an easy one-click installation of WordPress, so you can just follow the instructions and be done within a few minutes.
If you’d prefer to take the time and install WordPress manually, you can follow this guide to the famous WordPress five-minute install. Once you have completed the WordPress installation with your temporary domain, you can visit your temporary domain to make sure you can see the default theme.
Now on to the next step: migration! Let’s begin talking about the manual option.
Option 1: Manual Migration
For sites that have text, images, and video, It’s extremely simple to export the majority of your content from Squarespace to WordPress. Let us walk you through the process…
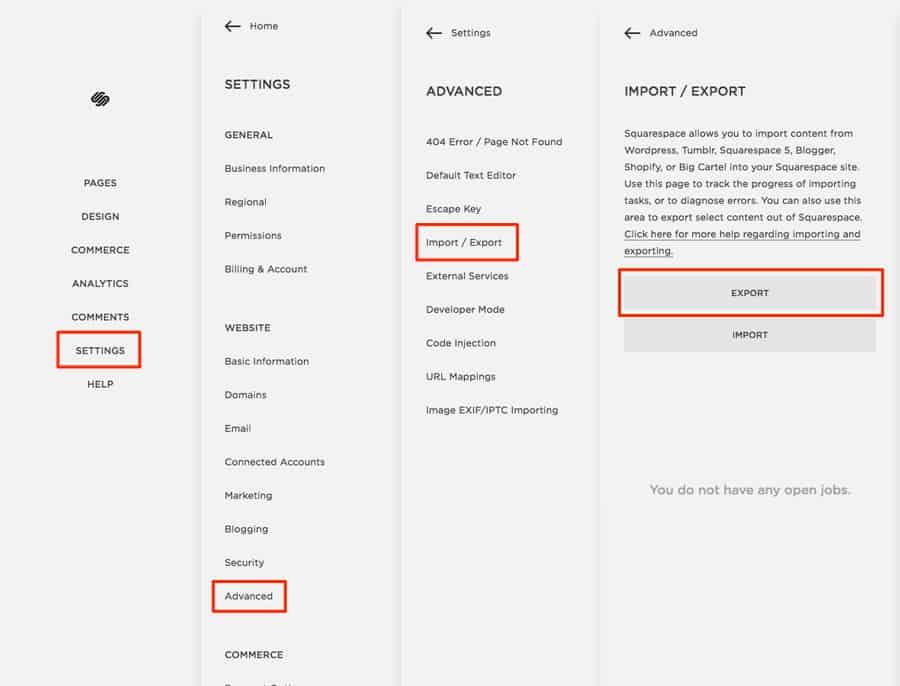
Step 1: Export Your Pages and Posts
Login to your Squarespace dashboard and then navigate to Settings > Advanced > Import / Export (see image below) then click on the Export button.
Then you will click on the WordPress option from the pop up that appears in your Squarespace dashboard and download the file to your computers desktop.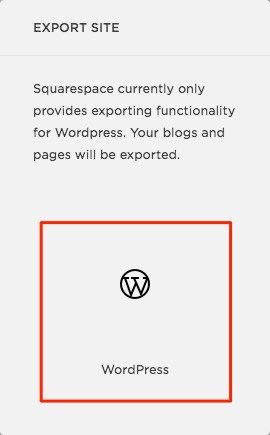
Step 2: Import Content Into WordPress
Once you have downloaded and saved the Squarespace WordPress Export XML file to your desktop, you are ready to import that file into WordPress.
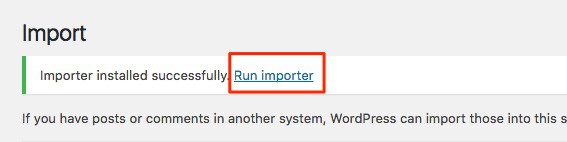
Login to your WordPress Dashboard and go to Tools > Import and install the WordPress Import Tool (image below). After the plugin is installed, you will click on Run Importer at the top of the screen.
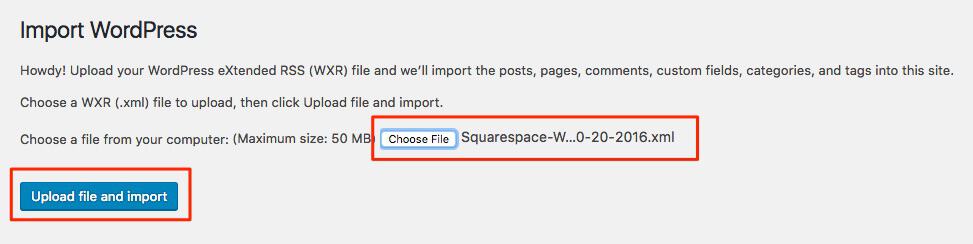
Then you will click on Choose File, find the file on your desktop, click Open to load the file, and then click on the Upload file and import button.
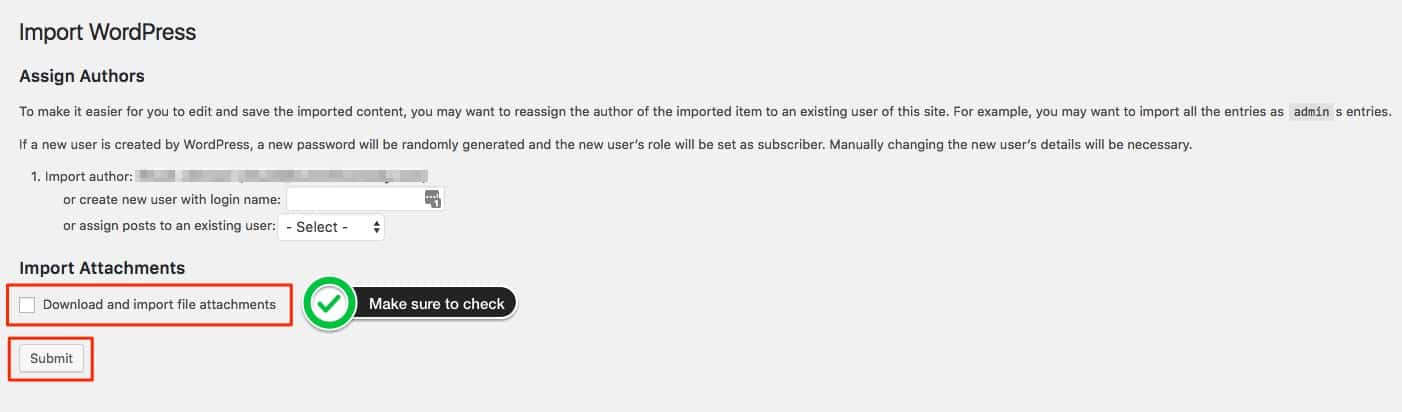
Next, you will choose whether you want to Import and keep the author that wrote the articles on Squarespace, create a new user, or assign posts to an existing user on your WordPress install. Since this is a new installation, we would recommend importing the user from your Squarespace site. Next, make sure to check the box that says “Download and import file attachments”. This will download and import all of the pictures and make sure they get imported into your WordPress install and attached to each page properly. Finally, click the Submit button and wait for the process to complete and the page says “All Done.”
Once you see the “All Done.” text on the screen you are all set. You have just imported your Squarespace pages and posts into your WordPress install!
Option 2: Outsource the Migration Process (Paid)
There are several sites and services offering Squarespace to WordPress migrations. CMS2CMS is one of the better ones to carry out migrations between all major content management systems. Given the time you are saving yourself, you can expect to pay for the privilege. You can estimate the cost with the calculator on the CMS2CMS pricing page.

Step 1: Run the Demo Migration
CMS2CMS offers a full-service package where their technical staff do everything in the migration. If you are taking one of the lower priced packages, however, you are required to run a demo migration as follows:
- Enter the URLs for the source and destination sites.
- Confirm the CMS types (i.e. Squarespace to WordPress).
- Choose any additional migration options:
- Migrate media (i.e. import your images)
- Make URLs Search Engine Optimization friendly
- Clear the current target data (this will delete any existing data on the WordPress site)
- Get design suggestions (i.e. choosing a suitable theme)
- Redirect URLs
- Click Start Migration.
This demo migration will migrate ten pages of content, with any images or other related items, so that you can see what the migration results will look like.
Step 2: Run the Full Migration
If you are happy with the demo migration, you can continue with the actual migration. The DIY migration from CMS2CMS does not come with any real support, but you can take out migration insurance, which enables you to restart the migration within a specified period of time (just in case it does not work as you expected).
If you want a completely hands-off experience, you can pay for one of the premium full service packages mentioned before. Starting at $299, these packages include migration of large Squarespace websites to WordPress.
After the Migration
Now that you have completed the migration of your site, there are a few things left to do before your WordPress site is ready for the world. It’s been a longish journey, but here are the last remaining steps of this process.
Step 1: Choose and Customize a Theme
As was mentioned before, you can’t migrate your Squarespace theme, but if you went with a full-service migration package from CMS2CMS, you could have a custom WordPress theme created based on your Squarespace theme. Otherwise, you will need to select a WordPress theme which best matches the look you want for your site.
One of the great things about WordPress is the thousands of themes available in the WordPress repository and via theme shops and marketplaces. Finding the perfect theme for your site is a journey in itself and some of the free themes may not cut it. If you want a more robust, professional theme then you can browse the themes on Themeforest.
Step 2: Setup Any Other Features (e.g. Forms and Widgets)
If you had any functional areas on your website, now is the time to get those setup in WordPress. You can easily add plugins to create your forms and widgets; just look carefully at your Squarespace site to see what features you want to carry over. For contact forms, you can use the free Contact Form 7 Plugin or you can use the paid more awesome plugin Gravity Forms that we highly recommend and is a little easier to use than Contact Form 7.
Step 3: Test Site
Make sure to test your site thoroughly to ensure it works as it should. In particular, if you did a manual migration, you’ll want to check for broken links. You can use the Broken Link Checker plugin to scan all posts and pages and let you know if any links are broken.
Step 4: Point Your Domain to the Destination Site
The final step, once you are happy with the migration, will be to switch over your domain. This is a two-step process:
1. Transfer Your Domain from Squarespace
Assuming you originally purchased the domain from Squarespace, follow the simple process at the link above.
2. Change Your WordPress Site to Use Your Domain
Once the transfer is complete, WordPress can be set to use your domain, instead of the temporary one you setup in the beginning.
First, check the General Settings page within WordPress, because both the Home URL and Site URL will need to be changed from the temporary domain to the live one. To help with changing the URLs throughout the site content, you can use a plugin like the Velvet Blues Update URLs plugin. In the plugin’s settings, you can choose to update links embedded in content, excerpts, custom fields, and whether to update links for attachments.
Conclusion
While Squarespace may have suited you when you first launched your website, it may no longer have everything you need for your growing business. In checking out the alternatives for your website, you likely considered moving to WordPress.
Squarespace would prefer to keep your business so moving your website from their platform is not a simple one-click operation. However, it can be done somewhat easily by following the steps we outlined above. Following our instructions, you can have your site moved from Squarespace to WordPress in no time.
Good luck!